Appearance
JavaScript Floor Plan SDK guide
INFO
This is page documents Floor Plan SDK v3 which doesn't support Space Graph.
Looking for the newer v5 version or migration ?
Overview
The Floor Plan SDK enables you to create interactive, customizable floor plan models embedded in your website using JavaScript or TypeScript.
Interactive example ( you can zoom or pan the plan ):
Audience
This documentation is designed for people familiar with JavaScript programming. This conceptual documentation is designed to let you quickly start exploring and developing applications with the Floor Plan SDK. There is also an API reference provided.
Hello, World
The simplest way to display a floor plan embedded in your website is the following:
TIP
Check the Changelog for new versions.
html
<!doctype html>
<html>
  <meta charset="utf-8" />
  <title>fpe hello world demo</title>
  <style>
    #hello-plan {
      height: 100%;
    }
    html,
    body {
      height: 100%;
      margin: 0;
      padding: 0;
    }
  </style>
  <body>
    <div id="hello-plan"></div>
    <script type="module">
      import FloorPlanEngine from 'https://esm.sh/@archilogic/floor-plan-sdk@3.1.7'
      // Create publishable access token at https://app.archilogic.com/organization/settings/access-tokens
      const publishableToken = 'd3860d6c-e26e-4934-bd5e-d2f7f707e077'
      const demoSceneId = 'a9aaafdf-d5b6-4b4a-82a0-9efb6d5b155a'
      const container = document.getElementById('hello-plan')
      const floorPlan = new FloorPlanEngine(container)
      floorPlan.loadScene(demoSceneId, { publishableToken })
    </script>
  </body>
</html>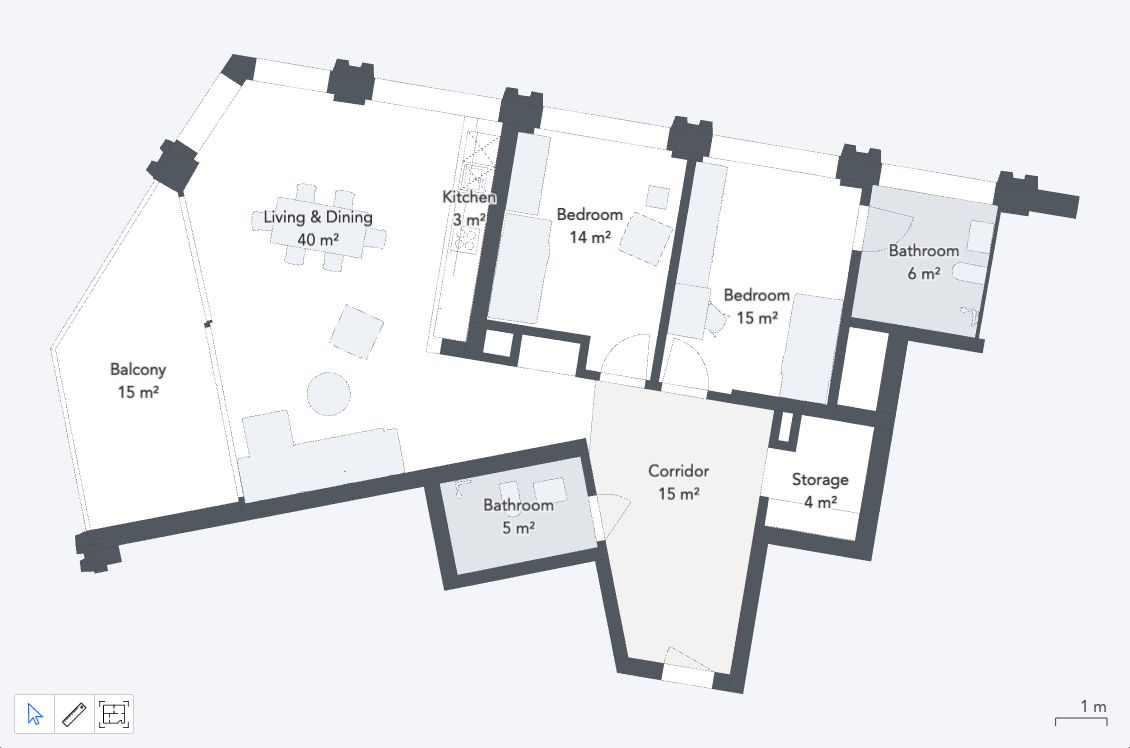
Startup Options
The FloorPlanEngine has an optional parameter StartupOptions. See below the various options that can be set through this parameter. The options are passed like the following: new FloorPlanEngine(container, startupOptions)
Options can be changed on runtime using the set method
js
floorPlan.set(startupOptions)TIP
Make sure to take a look at the code examples
Theme
The SDK offers a wide range of theming options.
The startup options playground showcases a lot of variations.
Space can be colored programmatically following the space taxonomy. The following snippet colors all work spaces blue.
js
const startupOptions = {
  theme: {
    elements: {
      space: {
        program: {
          work: { fill: [214, 234, 248] }
        }
      }
    }
  }
}
const floorPlan = new FloorPlanEngine(container, startupOptions)
floorPlan.loadScene(demoSceneId, { publishableToken })
Custom room stamp content
3.1.0 +
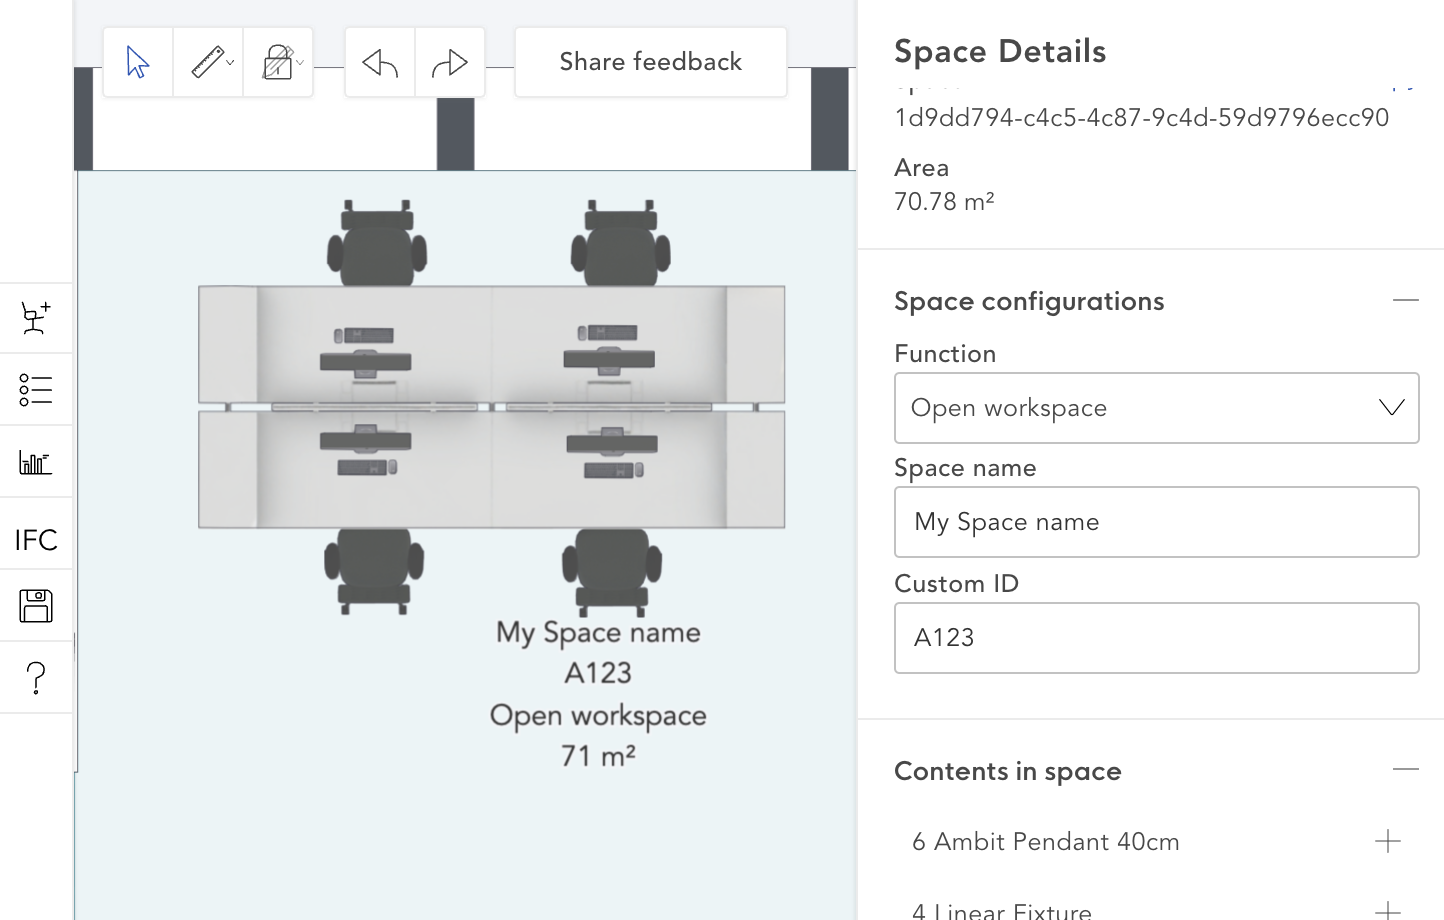
roomStampDisplay allows to set the properties and their order for all room stamps shown in the floor plan.
The default value is ['usage', 'area']
js
const startupOptions = {
  theme: {
    elements: {
      roomStamp: {
        roomStampDisplay: ['name', 'customId', 'usage', 'area']
      }
    }
  }
}
const floorPlan = new FloorPlanEngine(container, startupOptions)
floorPlan.loadScene(demoSceneId, { publishableToken })
To set a custom name or a custom id for a space, you can use the Archilogic Editor.
Space label mapping
2.2.0 +
Map space labels by space usage or space id.
Take a look at the space taxonomy for reference.
js
const startupOptions = {
  spaceLabelMapping: {
    kitchen: '부엌'
  }
}
const floorPlan = new FloorPlanEngine(container, startupOptions)
floorPlan.loadScene(demoSceneId, { publishableToken })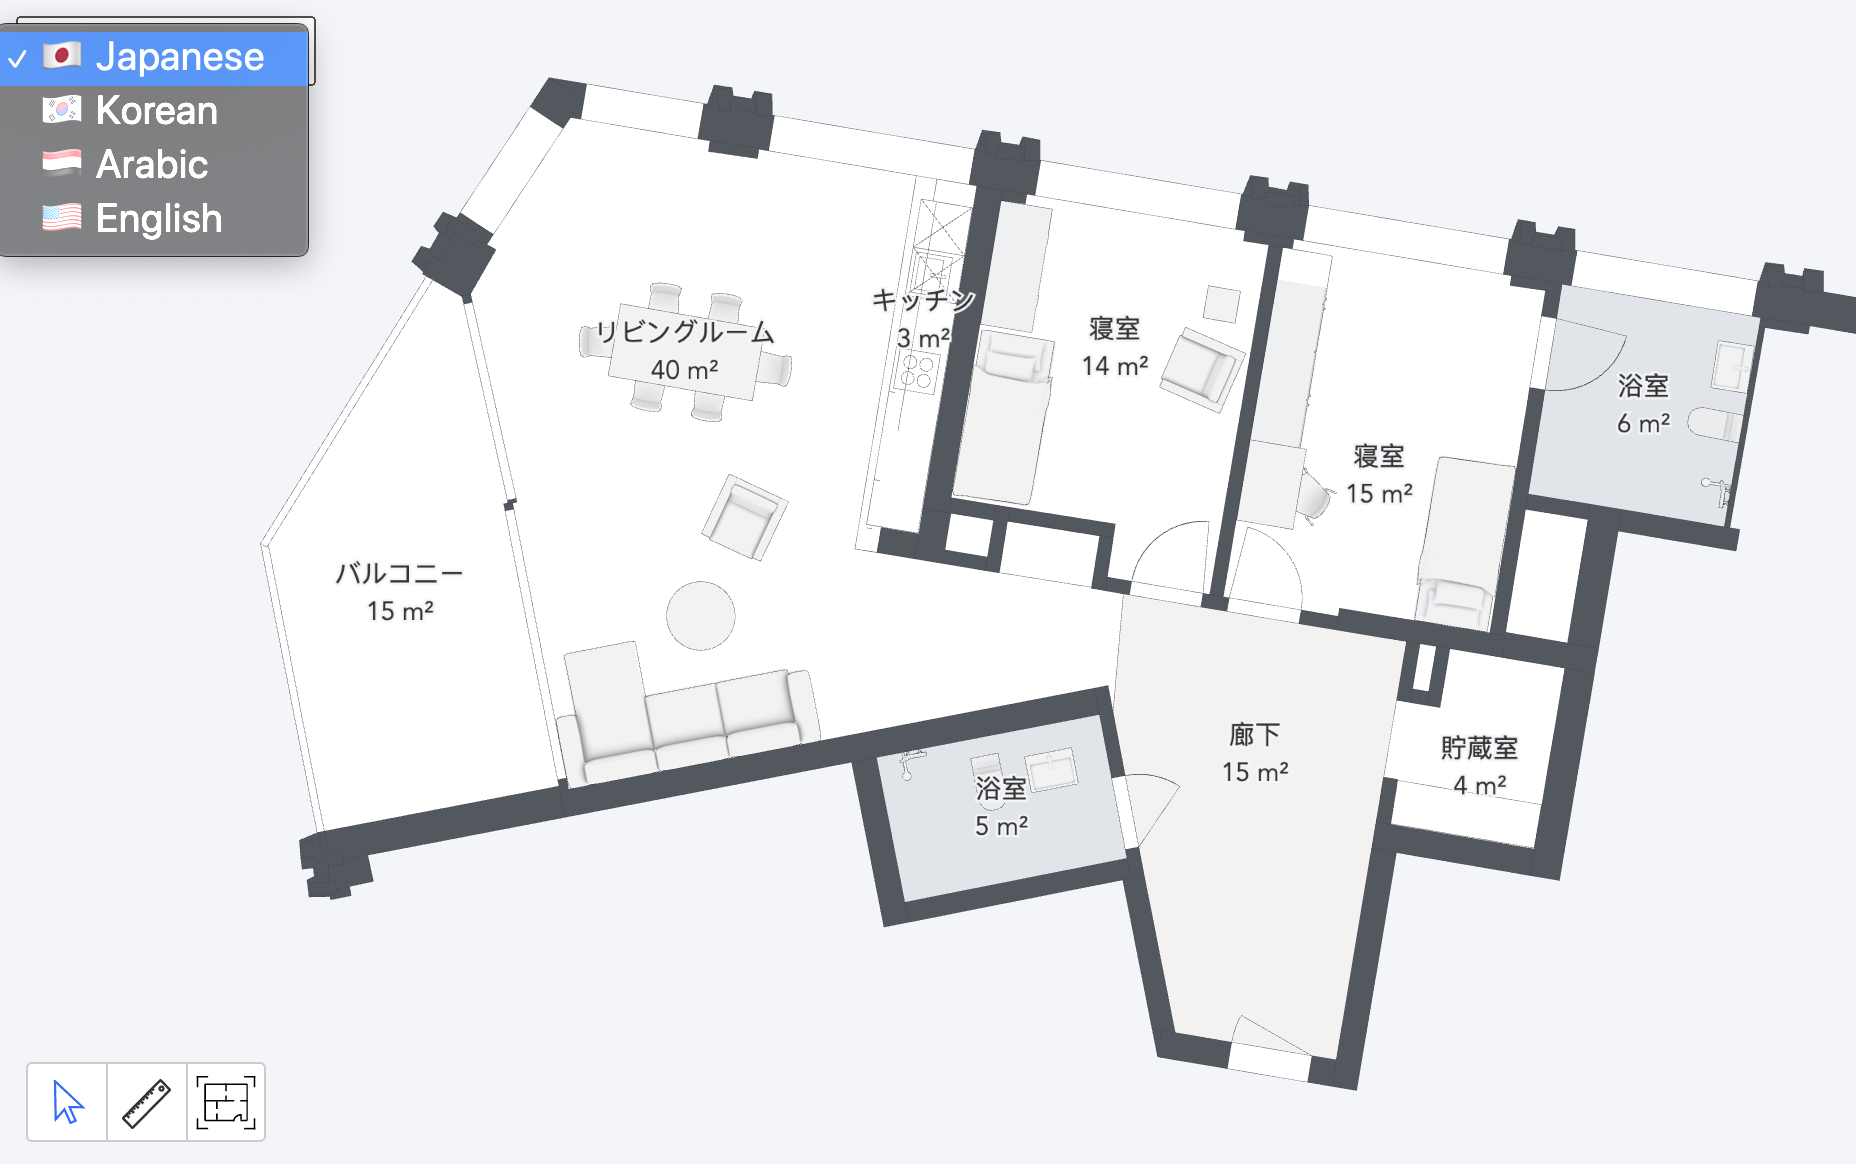
Resources
When the promise returned by loadScene is resolved, we can expect that the resources.spaces and resources.assets arrays are defined and contain the Space and Asset objects placed in the floor plan.
Each space references the assets that it contains by their unique id.
This allows you to know what's in each space.
Space
Sample space:
js
await floorPlan.loadScene('a9aaafdf-d5b6-4b4a-82a0-9efb6d5b155a', {publishableToken})
floorPlan.resources.spaces[0] = {
  ...
  // this references the assets in the space
  assets: [
    "3fe8855a-8215-4e1e-a9fb-144eef373828" // the asset below
    "47060475-838e-42e8-860e-ba2e6ec071ee"
    "9cd7addb-1f1d-4a7d-af40-6755aae9c789"
  ],
  // unique id for the space
  id: "3c45a15b-4016-44e4-bb61-ce0f828b6848",
  // contour of the space
  polygon: [...],
  // assigned usage function
  usage: "openWorkSpace",
  // space category
  program: "work"
}
visit the API reference for more details
Asset
Sample asset:
js
// get a asset that is referenced by the space above
floorPlan.resources.assets
.find(item => item.id === '3fe8855a-8215-4e1e-a9fb-144eef373828') = {
  // unique id for the asset
  id: "3fe8855a-8215-4e1e-a9fb-144eef373828",
  // product metadata (generic or real)
  name: "Table 160x80x75",
  // multiple assets can have the same product id
  productId: '35fa5b72-b2c2-47bc-ae65-5ea4abf6b17b',
  categories: ['seating'], // product category
  subCategories: ['taskChair'], // product subCategory
}
Take a look at the product taxonomy for reference
And visit the API reference for more details
Events
2.0.0 +
The FloorPlanEngine instance exposes a few useful events subscribe
js
floorPlan.on(event, callback, context)subscribe for one event
js
floorPlan.once(event, callback, context)unsubscribe
js
floorPlan.off(event, callback)click
Mouse click or touch event.
Instead of click you can also listen for dblclick
js
floorPlan.on('click', handleClick)

function handleClick(evt) {
  // returns the plan position, the sourceEvent and if present the id of the node that you clicked on
  const { pos, sourceEvent, nodeId } = evt
  // to get the top resource that was clicked on use the nodeId
  const asset = floorPlan.resources.assets.find(asset => asset.id === nodeId)
  // to get all resources for that position use the position
  const { assets, spaces } = floorPlan.getResourcesFromPosition(pos)
}
mousemove
Fired when moving the mouse
js
floorPlan.on('mousemove', handleMouseMove)

function handleMouseMove(evt) {
  const { pos, sourceEvent, nodeId } = evt
}
drop
Fired when dropping a draggable Element on the canvas
js
floorPlan.on('drop', handleDrop)

function handleDrop(evt) {
  const { pos, sourceEvent, nodeId } = evt
}
viewbox
2.2.0 +
Fired when the current view changes on zoom or pan actions or zoom methods.
The viewbox property will give you the current view's bounding box
js
floorPlan.on('viewbox', handleViewBox)

function handleViewBox(evt) {
  const { pos, viewbox, zoom } = evt
}
Zoom
The SDK provides various zoom methods
Zoom extents
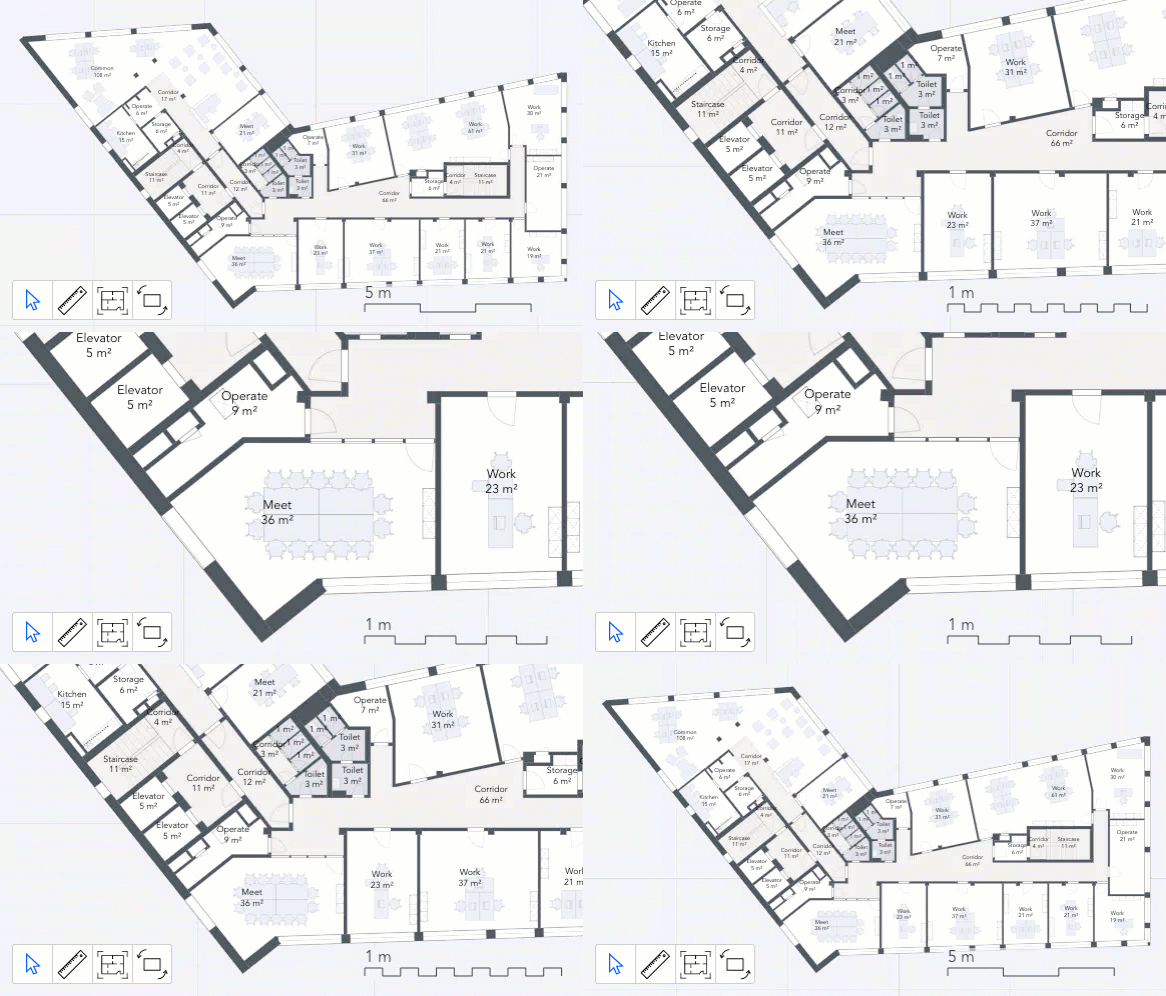
It allows you to zoom to the extent of the scene, with a specified margin using zoomExtents
Zoom to element
You can also zoom into an element (space, asset) with or without animation using the zoomToElement method.
js
// get an asset
const assetId = floorPlan.resources.assets[0].id
// zoom to the asset with 2m margin and 500ms animation time
floorPlan.zoomToElement(assetId, 2, 500)
Below is an example demonstrating the usage of these methods.
Zoom by factor
2.2.0 +
Zoom the current view by a factor with zoomByFactor
A zoom factor, larger than 1 zooms in, smaller than 1 zooms out
js
floorPlan.zoomByFactor(1.2, true)Set zoom
2.2.0 +
Set the view box by providing a bounding box using the setZoom method
Methods
Add marker
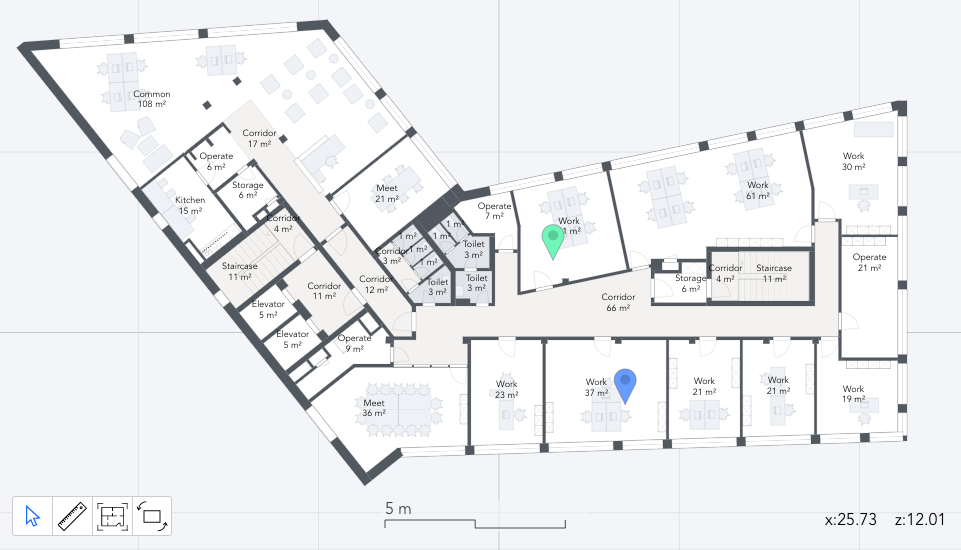
The addMarker method can be used to add extra information to a given location within the floor plan. It requires the following parameters:
js
floorPlan.addMarker({
  pos: [7, 2],
  color: '#0c9'
})
Where
posis the position on the floor plan specified in meters where the info window pointswidth,heightspecifies the size of the info window
Returns Marker instance
Add info window
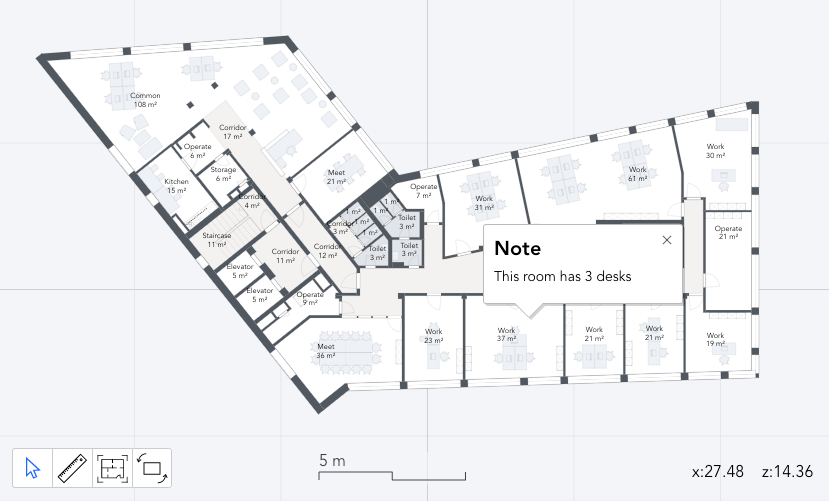
The addInfoWindow method can be used to add extra information to a given location within the floor plan. It requires the following parameters:
js
floorPlan.addInfoWindow({
  pos: [7, 2],
  width: 200,
  height: 80,
  html: '<h1>Note</h1><p>This room has 3 desks</p>',
  closeButton: true
})
Where
posis the position on the floor plan specified in meters where the info window pointswidth,heightspecifies the size of the info windowhtmlis the user-specified content to be displayedcloseButtoniftruedisplays a close button
Returns InfoWindow instance
Add Html marker
2.2.0 +
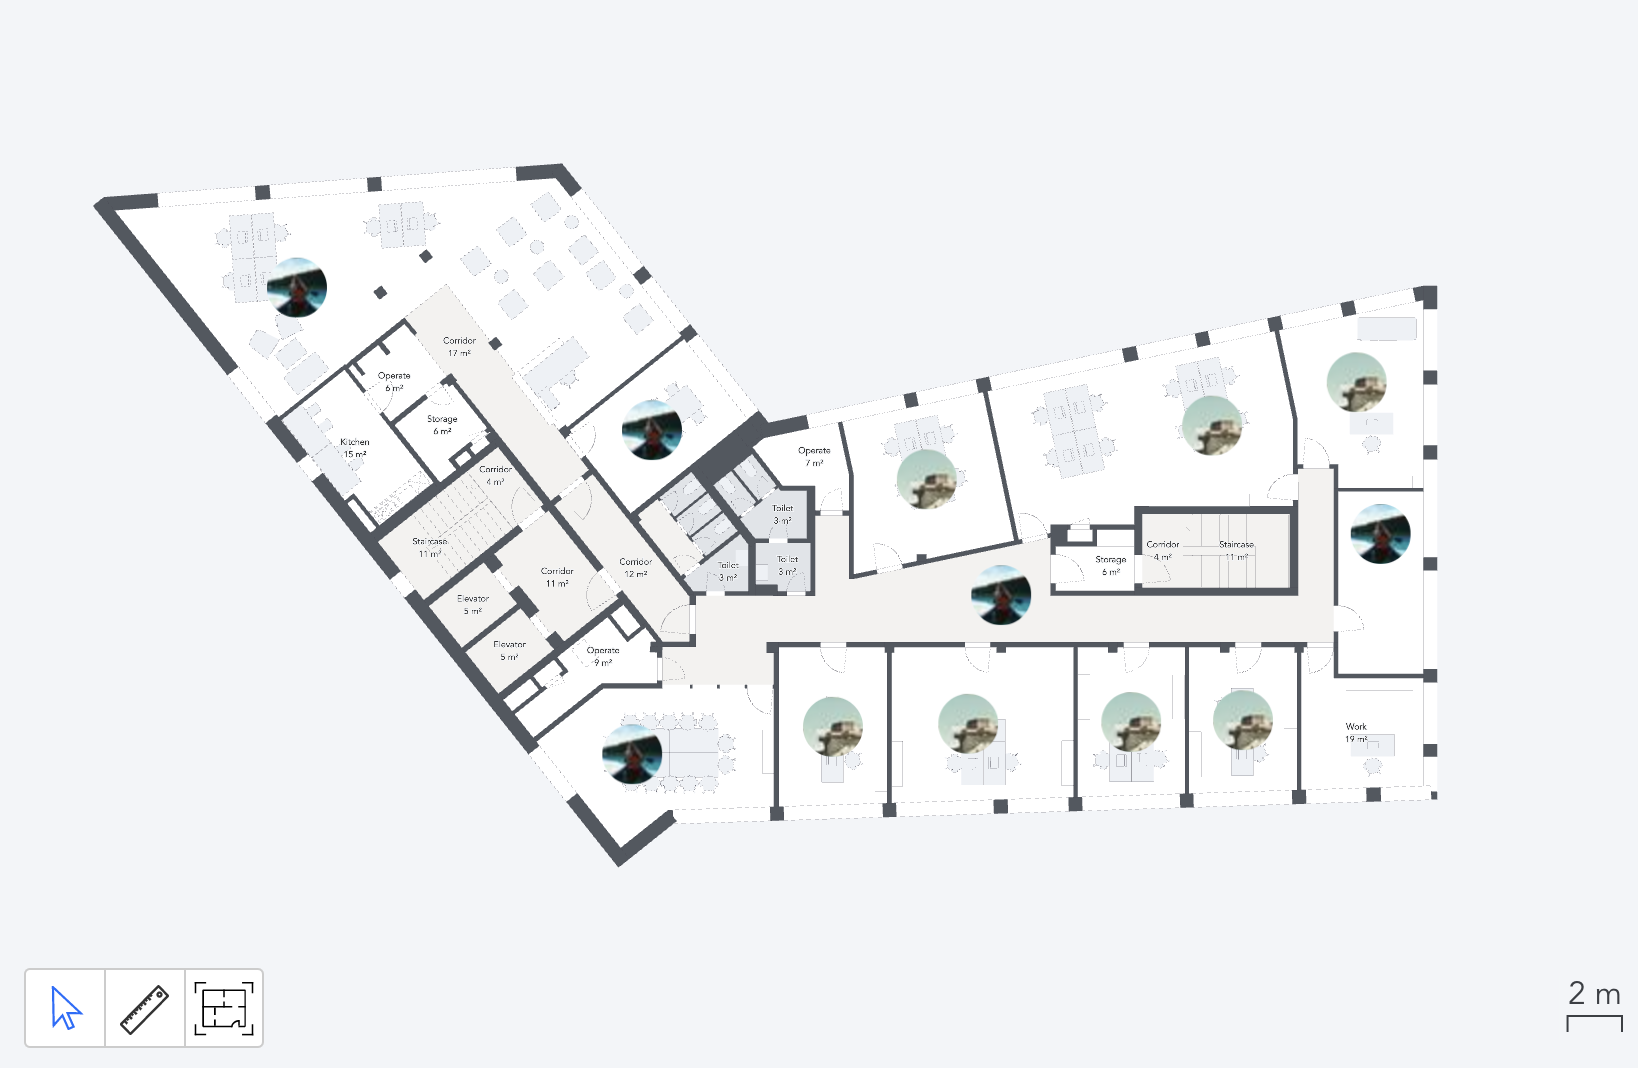
The addHtmlMarker method can be used to add extra information to a given location within the floor plan. It requires the following parameters:
js
const el = document.createElement('div')
el.classList.add('my-marker')
floorPlan.addHtmlMarker({
  pos: [7, 2],
  el
})
Where
posis the position on the floor plan specified in meters where the info window pointselis the HTML Element that you want to mount at that position
Returns Html Marker instance
Get resources from position
2.0.0 +
From a given plan position the getResourcesFromPosition methods returns the assets and spaces for that position.
js
floorPlan.on('click', handleClick, floorPlan)

function handleClick(evt) {
  // returns the plan position, the sourceEvent and if present the id of the node that you clicked on
  const { pos, sourceEvent, nodeId } = evt
  // get a list of assets and spaces for that plan position
  const { assets, spaces } = this.getResourcesFromPosition(pos)
  // proceed by highlighting the resources in focus for instance
}
Highlight a resource
3.1.0 + Added option to set fillOpacity, outline & outlineWidth
All exposed resources can be colored programmatically node.setHighlight
js
// get the node of a resource ( asset or a space )
const node = floorPlan.resources.assets[0].node
// use the setHighlight method to temporarily change its color and its outline
node.setHighlight({ fill: [236, 112, 99], outline: [200, 42, 25], outlineWidth: 2 })
// use the same method empty without arguments to reset the color
setTimeout(() => {
  node.setHighlight()
}, 1000)
For a more complex implementation take a look at this example
Save floor plan as image
A method is provided to save the displayed floor plan as either jpg of png image: exportImage
js
floorPlan.exportImage({
  download: true,
  format: 'jpg'
})
